
In Short
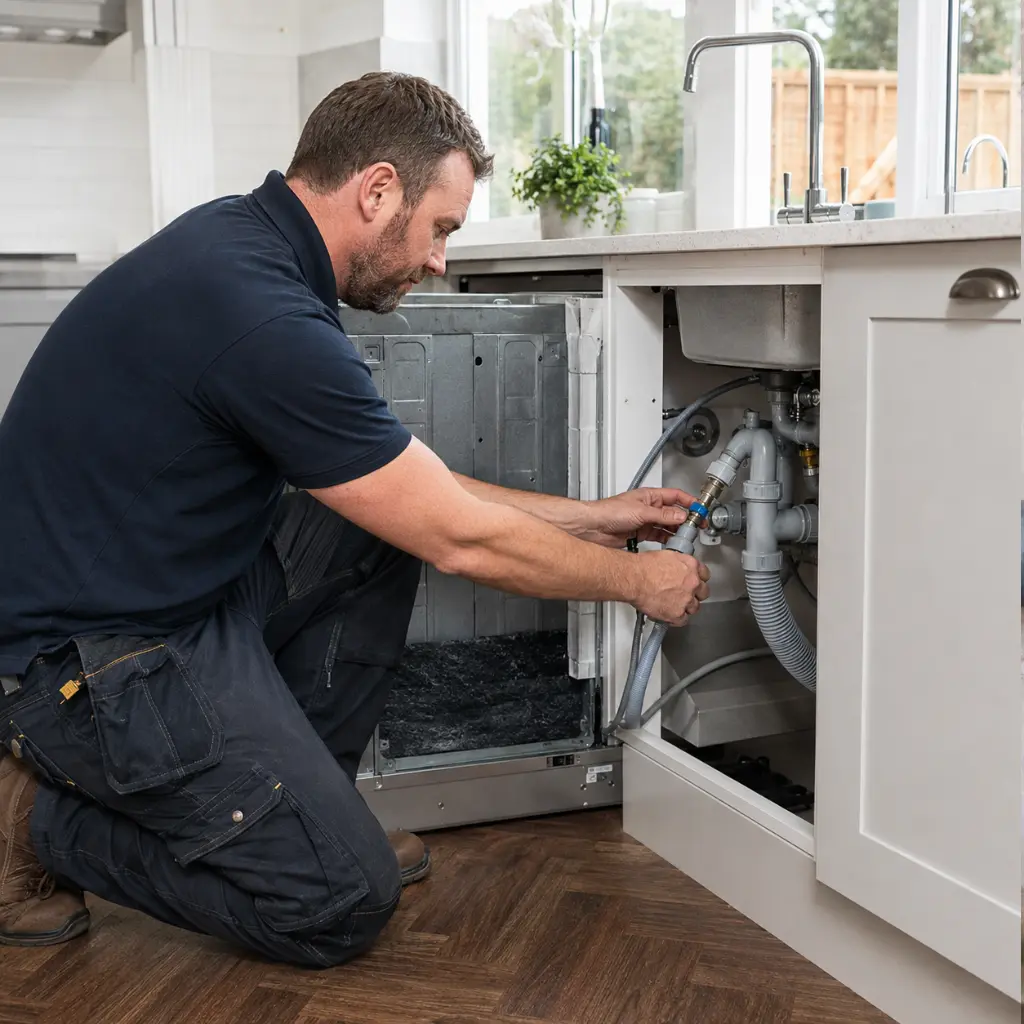
Plumbing in a dishwasher comes down to two main plumbing connections: water in and waste out along with a suitable electrical supply, a level base and a proper test. This guide explains what each connection involves, the checks worth making before the appliance arrives, the order the work happens in, and the points where a plumber usually takes over.
Introduction
A dishwasher is one of the more approachable appliances to connect, because almost everything it needs is already sitting under the kitchen sink. The parts that catch people out are rarely the plumbing itself. They are the small details: a blanking plug left in place, a hose that sits too low, a foot that never got levelled.
Knowing how to plumb in a dishwasher is mostly about understanding what the appliance is asking for, then working in a sensible order. Our team handles kitchen and bathroom plumbing across North West London, and the installs that go smoothly are the ones where the space was prepared before the box was opened.
What Plumbing Is Needed for a Dishwasher
Three services meet at the machine, and each has a straightforward job.
The water supply is a cold feed, taken from the 15mm cold pipe under the sink through an isolating valve. Many modern dishwashers connect to a cold water supply, but always check the manufacturer’s instructions for the specific model before making the connection.
The waste connection carries used water away, either into a spigot on the sink trap or into a dedicated standpipe. Either route works well as long as the hose is routed correctly on the way there.
The dishwasher also needs a suitable electrical supply. Avoid extension leads, and make sure the plug, socket or appliance isolation control remains safely accessible. Any new electrical installation should be handled by a qualified electrician.
Dishwasher Plumbing Requirements to Check Before You Start
A few minutes of measuring saves a great deal of adjusting later.
Measure the cabinet opening for height, width and depth, and remember that hoses and the socket need room behind the machine. Standard full-size units are around 600mm wide, with slimline models at roughly 450mm.
Check that an isolating valve is already fitted to the cold supply and that it turns freely. If there is no valve, one can be added to the pipe before the appliance goes in.
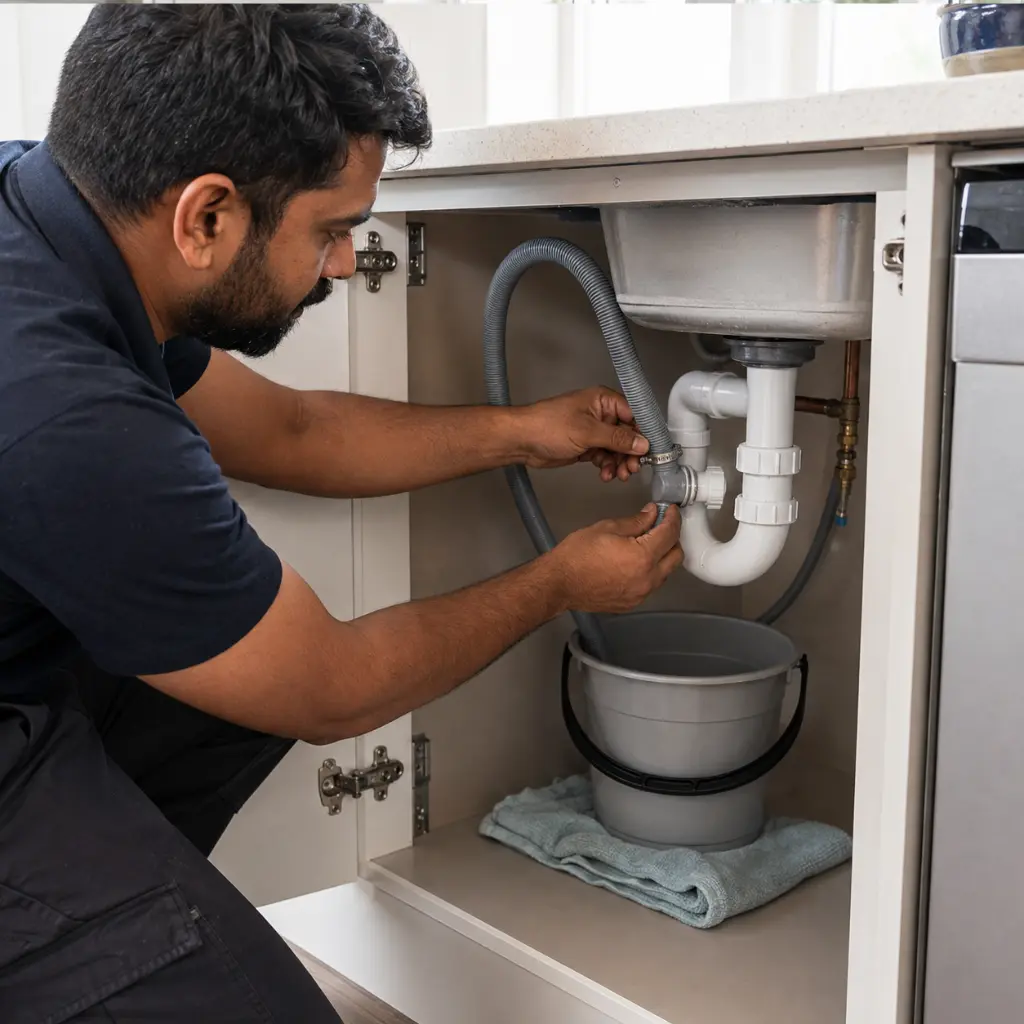
Look at the sink trap for a waste spigot, and note whether it has been used before. If the waste spigot is blanked off, the blanking plug must be removed before connecting the dishwasher waste hose.
Finally, check that the supplied hoses reach comfortably from the connection points to the back of the machine, and lay out your tools: an adjustable spanner, a screwdriver, pliers, a spirit level, a bucket and a towel.
How to Plumb In a Dishwasher in the UK, Step by Step
With the space prepared, the work itself follows a clear sequence.
1. Isolate and clear the space
Close the isolating valve on the cold supply and switch off the socket. Slide the appliance close to its final position, leaving enough room to reach behind it, and protect the floor with cardboard.
2. Connect the water inlet hose
Screw the threaded inlet hose onto the isolating valve outlet. The fitting seals on a rubber washer, so it tightens by hand, then a light quarter turn with a spanner is enough.
Check the washer is seated before tightening, and keep the hose free of tight bends. Some dishwashers use an AquaStop-style inlet hose, which may have a larger fitting at the supply end.
3. Connect the waste hose
Remove the blanking plug from the trap spigot if it is still in place, push the waste hose fully onto the spigot, and secure it with a hose clip.
Then route the hose so it rises to just below worktop level before it drops to the trap. Route the waste hose at the height and in the position specified by the manufacturer, making sure it is not kinked or compressed behind the appliance.
If your sink also has a waste disposal unit, make sure it is draining properly, as a blocked or faulty waste disposal can cause slow drainage and other problems around the sink.
4. Position, level and secure
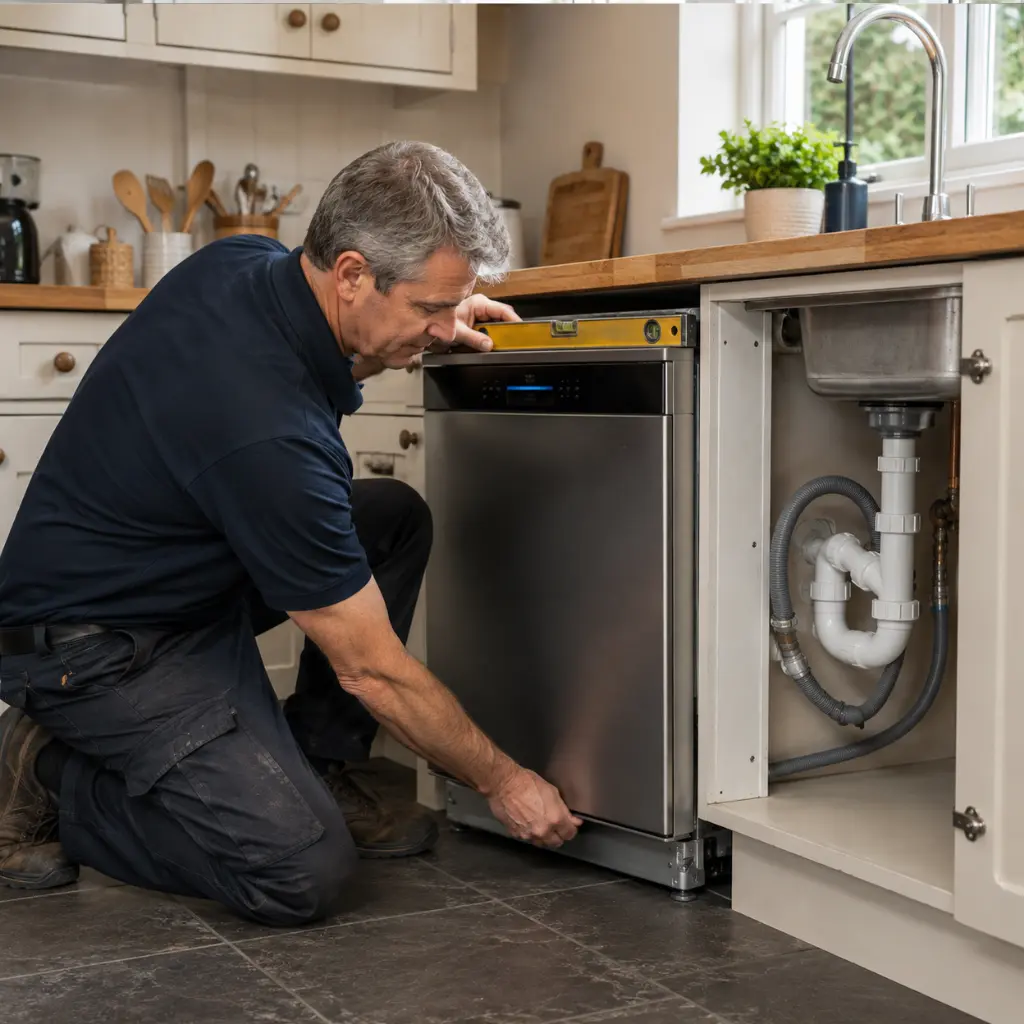
Slide the machine into the opening, keeping the hoses and cable clear of the feet. Adjust the front and rear feet with a spirit level across the top until the machine sits square in the cabinet.
Correct levelling helps the appliance sit securely and allows the door to open and close properly. Integrated models should then be secured according to the manufacturer’s installation instructions.
5. Test the Dishwasher and Check for Leaks
Open the isolating valve, restore power and run the test or short programme recommended by the manufacturer. Check that the appliance fills and drains correctly, and inspect the water and waste connections for leaks.
Where a Plumber Usually Takes Over
Plenty of installs are well within reach of a confident DIYer. Others benefit from a professional, and it is worth knowing which is which.
A plumber is the sensible call when there is no isolating valve on the cold supply, when a new waste connection or standpipe is needed, when the pipework under the sink is already crowded, or when the machine sits away from the sink and the run needs planning.
Our experienced and insured plumbers handle appliance connections as part of everyday kitchen plumbing work across North West London.
Conclusion
Keep the manufacturer’s instructions to hand throughout, since hose heights, connection requirements and bracket positions can vary between models.
Good pipework matters elsewhere in the home too. In colder spaces such as lofts and garages, exposed pipes may need proper pipe lagging to help protect them from freezing.
If the dishwasher space needs an isolating valve or a new waste connection, our plumbers can handle the necessary plumbing as part of everyday kitchen work. Tell us the model and what the pipework under your sink looks like, and we can talk through what the job involves.